How To Dye Leather: A Complete Step-by-Step Guide
Dyeing leather gives you the power to refresh faded items, personalize accessories, or create entirely new looks. Whether it’s a rugged duffle bag, a sleek backpack, or a timeless wallet, dyeing adds both character and longevity. With the right tools and methods, you can achieve professional results at home.
1. Why Dye Leather?
-
Restore Faded Leather: Revive worn bags, belts, or jackets.
-
Customize Your Style: Match seasonal colors or unique tastes.
-
Unify Mixed Materials: Bring harmony to handmade or repaired items.
-
Revamp Vintage Finds: Breathe new life into older pieces.
2. Essential Materials & Tools
-
Alcohol- or water-based leather dye
-
Deglazer or prep solution
-
Fine-grit sandpaper (800–1,200 grit)
-
Applicators (sponge brushes, daubers, or cloths)
-
Protective gloves and mask
-
Top coat sealer (matte, satin, or gloss)
-
Microfiber cloths
-
Optional: leather conditioner or balm
3. Preparing the Leather Surface
-
Know Your Leather: Full-grain and top-grain leathers absorb dye best.
-
Clean Thoroughly: Use a deglazer to remove oils, dirt, or factory finishes.
-
Light Sanding: Rough up glossy surfaces for better absorption.
-
Test First: Always patch test in a hidden area before full application.
4. Choosing the Right Leather Dye
-
Alcohol-Based Dyes: Deep penetration, bold colors, strong finish.
-
Water-Based Dyes: Easier cleanup, softer tones, eco-friendlier.
-
Pigmented Dyes: Opaque, great for drastic color changes.
-
Aniline Dyes: Transparent, keeps natural texture visible.
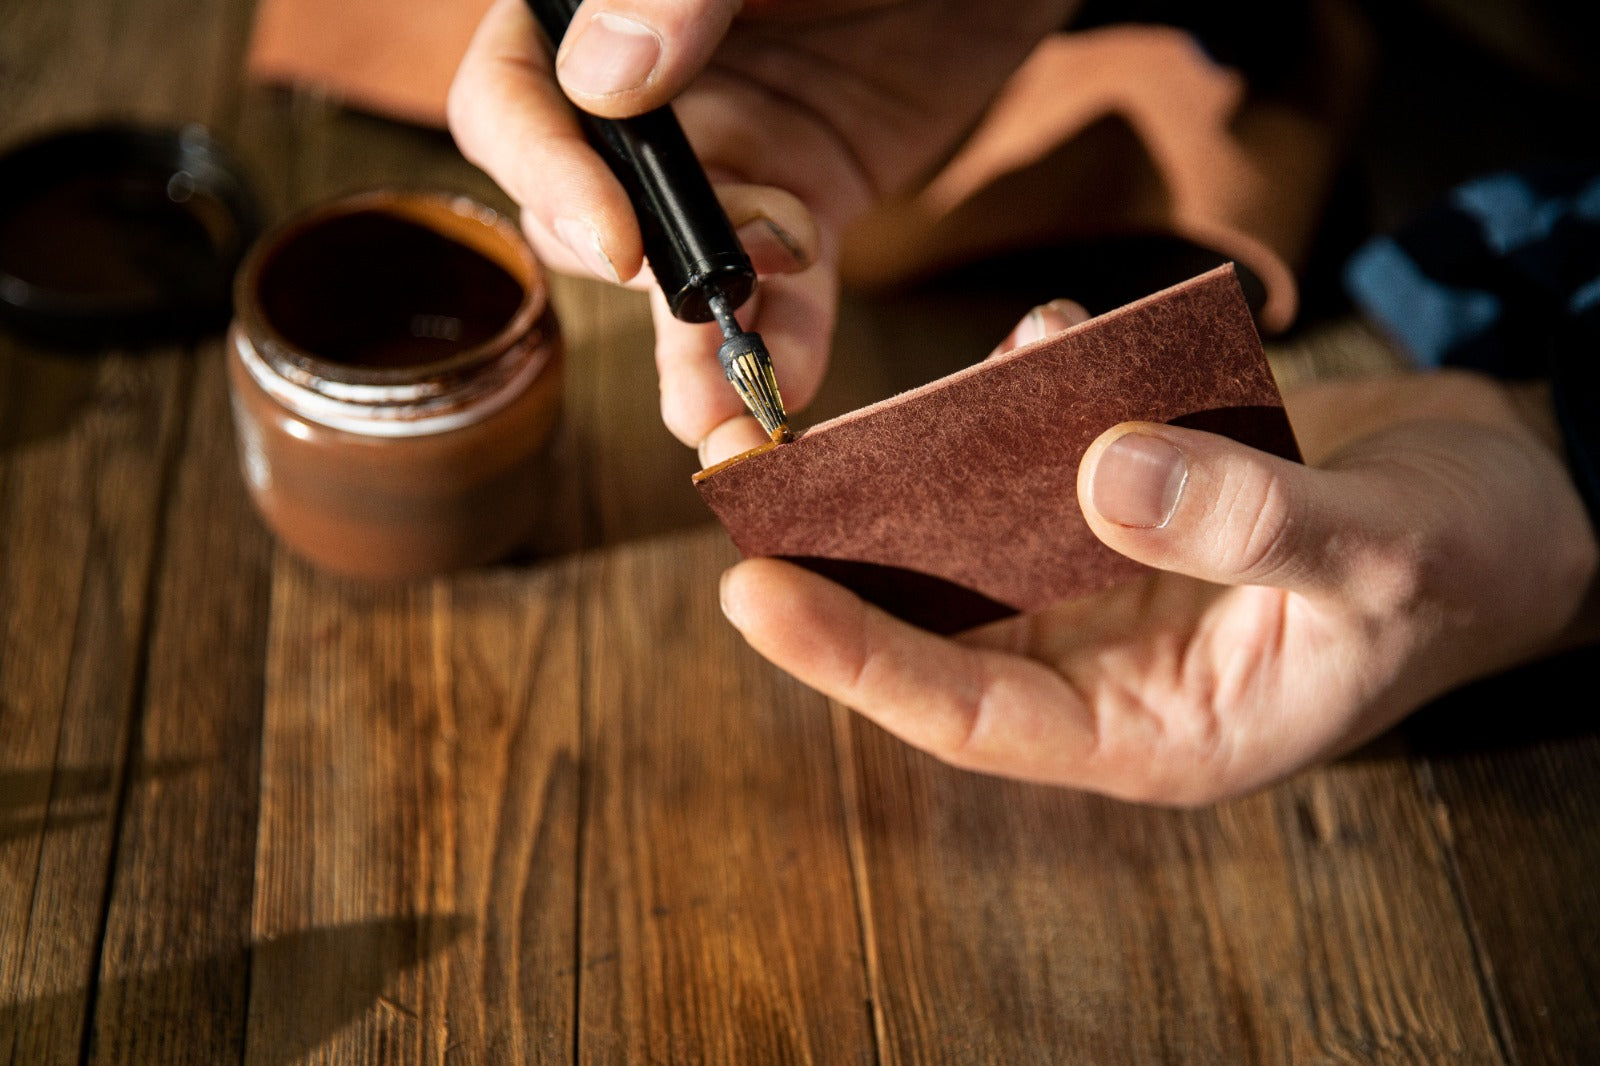
5. Applying the Dye
-
Use long, even strokes with a sponge or brush.
-
Apply thin layers, letting each dry 20–30 minutes.
-
Avoid puddles or streaks—build color gradually.
6. Color Correction & Blending
-
Lighten dark patches with a touch of alcohol.
-
Use two tones for gradients or dual-color effects.
-
For consistency on larger items, layer coats from light to dark.
7. Sealing & Protecting the Finish
-
Matte Finish: Natural, rugged look.
-
Gloss Finish: Polished and fashion-forward.
-
Satin Finish: Balanced sheen.
Apply sealant in thin, even coats, allowing each layer to dry fully before adding the next.
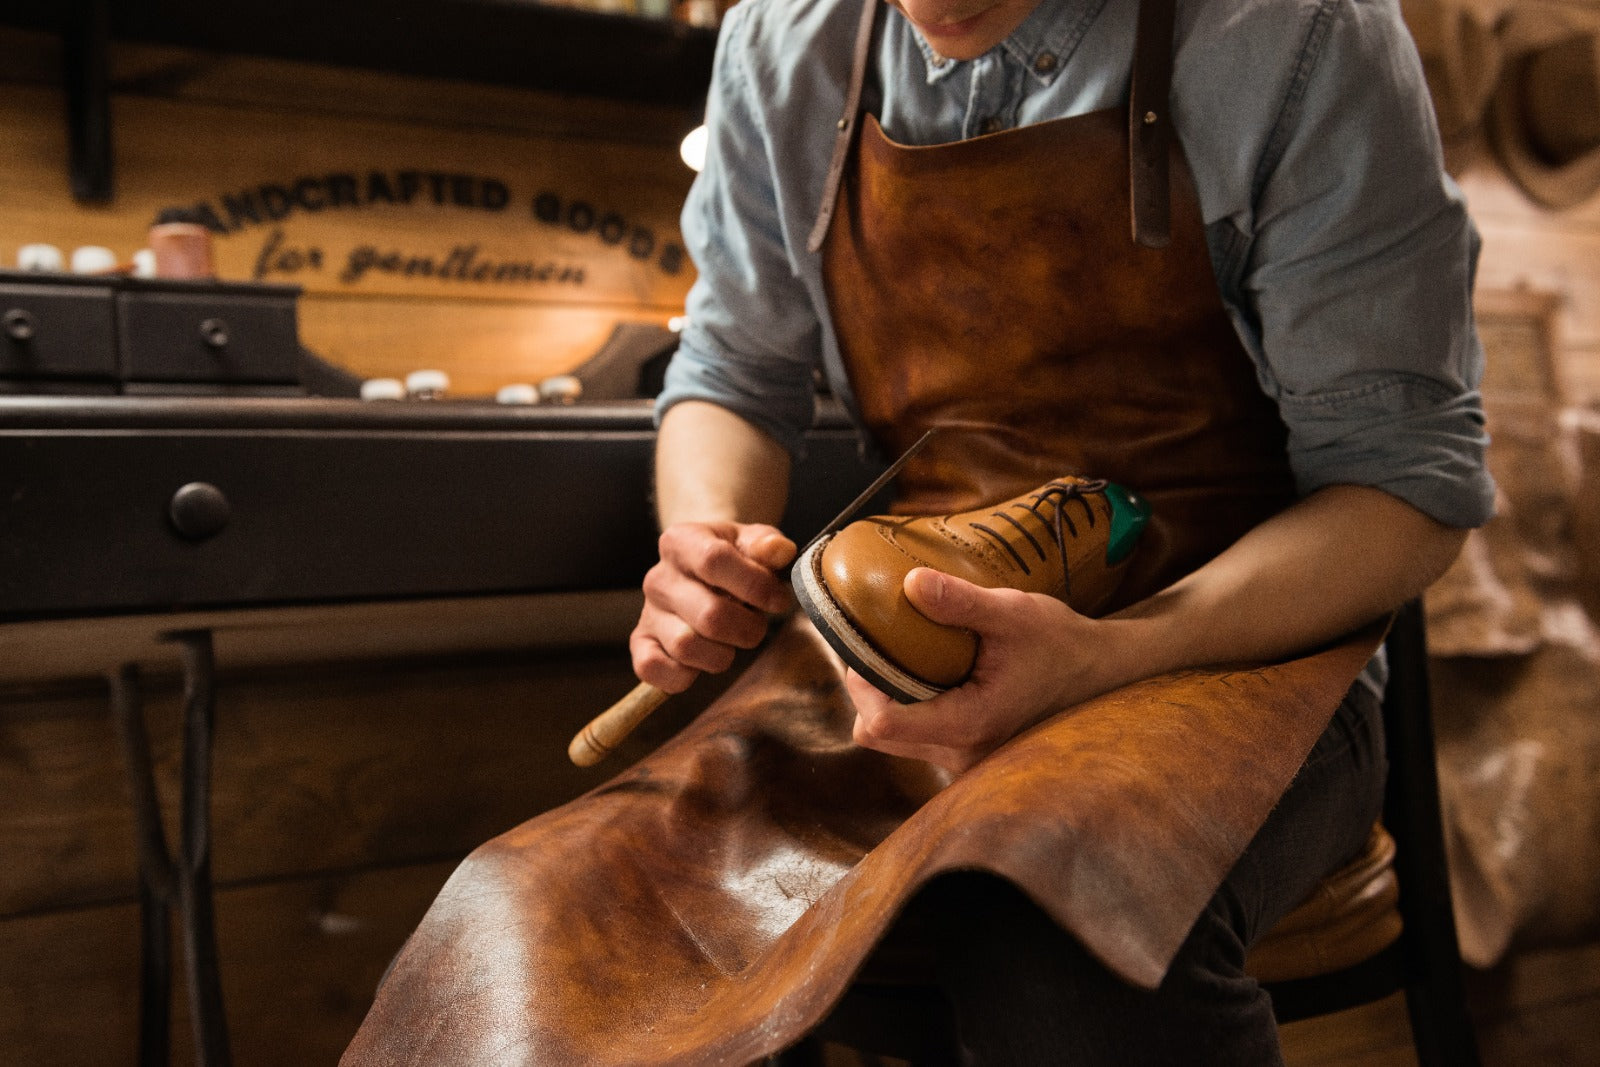
8. Conditioning & Aftercare
-
Condition after the sealant cures (24 hours).
-
Store in dust bags or cool, dry spaces.
-
Reapply conditioner every few months to keep leather supple.
9. Tips for Re-Dyeing or Drastic Color Shifts
-
Strip old color completely before re-dyeing.
-
Sand lightly between coats for smoother results.
-
Use darker shades for stronger coverage.
-
Apply a neutral base coat when shifting from light to dark colors.
10. Creative Leather Dyeing Ideas
-
Two-Tone: Contrast body and strap shades.
-
Ombré Effect: Fade from light to dark.
-
Stenciling: Add initials, stripes, or unique patterns.
Leather’s natural responsiveness makes it the perfect canvas for creative projects.
Final Takeaway
Dyeing leather is more than maintenance—it’s self-expression. From restoring vintage finds to creating bold new looks, the process adds years of life and individuality to your accessories. With patience, the right products, and attention to detail, you can transform ordinary leather into a statement of style.
10 Proven Methods for Stretching Leather: Expert Tips for Comfort & Care
The Best Leather Accessories Collection: Elevate Every Outfit
Related Posts
Thoughtful Christmas Gifts for Loved Ones
Why Leather Trolley Bags Are Best for Travelling in 2025

How to Soften Leather in 5 Easy Steps
Ultimate Guide: Removing Mold from Leather
Professional Guide to Removing Oil Stains from Leather
Leather Paint Removal Guide: Safe, Effective & Professional
What Is PU Leather?