Leather Paint Removal Guide: Safe, Effective & Professional
Accidents happen—paint splashes on your leather shoes, bag, or furniture don’t have to be permanent. Using the right techniques and products, you can remove paint without damaging the leather. This guide walks you through safe leather cleaning, professional methods, and maintenance tips to restore your prized leather items.
Understanding Paint on Leather
Different types of paint behave differently on leather:
-
Water-based paint: Stays on the surface, easier to remove
-
Acrylic paint: Can seep into pores, requiring gentle scrubbing
-
Oil-based paint: Stubborn, may need stronger solvents
-
Spray paint: Combination of acrylic/oil, often widespread
Tip: Always act fast, test cleaning products, and clean gently to avoid permanent damage.
Materials You’ll Need
Essential tools for paint removal:
-
Soft microfiber cloths
-
Mild leather cleaner or saddle soap
-
Isopropyl alcohol (70–90%)
-
Acetone or naphtha (for stubborn oil-based paint)
-
Leather conditioner
-
Soft-bristle brush or toothbrush
-
Cotton swabs
-
Water and clean towels
-
Gloves for protection
Step-by-Step Paint Removal Process
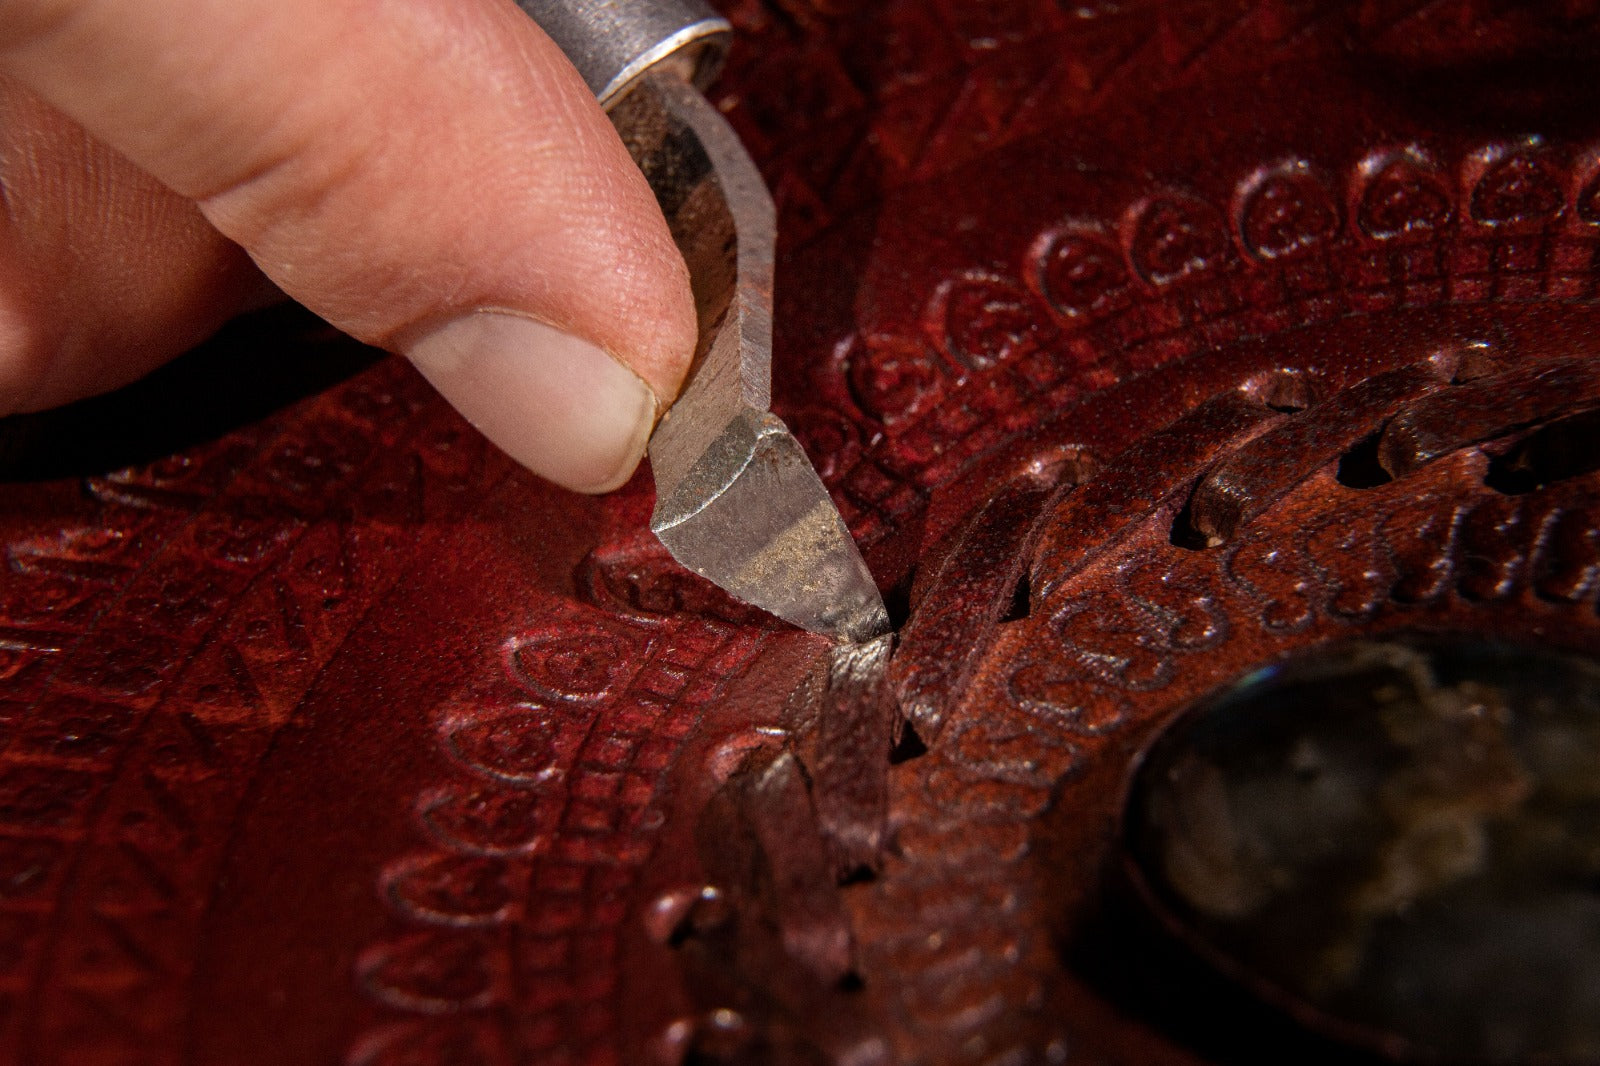
Step 1: Identify Your Leather Type
-
Aniline / Top-Grain Leather: Use mild cleaners
-
Nubuck / Suede: Use dry brushing and specialized erasers
-
Patent Leather: Easier wipe-off with damp cloth
Step 2: Blot, Don’t Rub
Gently blot excess paint with a microfiber cloth, working from edges inward. Avoid rubbing, which spreads the stain.
Step 3: Patch Test Cleaning Products
Always test on an inconspicuous area to ensure no discoloration or damage.
Step 4: Clean with Mild Leather Cleaner
Apply mild leather soap solution in circular motions. Rinse cloth frequently and replace solution if it turns milky.
Step 5: Use Isopropyl Alcohol for Residual Paint
-
Water-based paint: Dab lightly with cotton swab
-
Acrylic paint: Gently rub alcohol on a cloth, then clean with leather soap
Step 6: Use Solvents for Oil-Based Paint (Sparingly)
-
Apply acetone or naphtha to a cotton swab
-
Lightly dab; avoid soaking
-
Immediately neutralize with leather cleaner
-
Allow leather to air out
Step 7: Rinse & Dry
Clean again with mild soap and water. Pat dry and air-dry in a ventilated area; avoid heat.
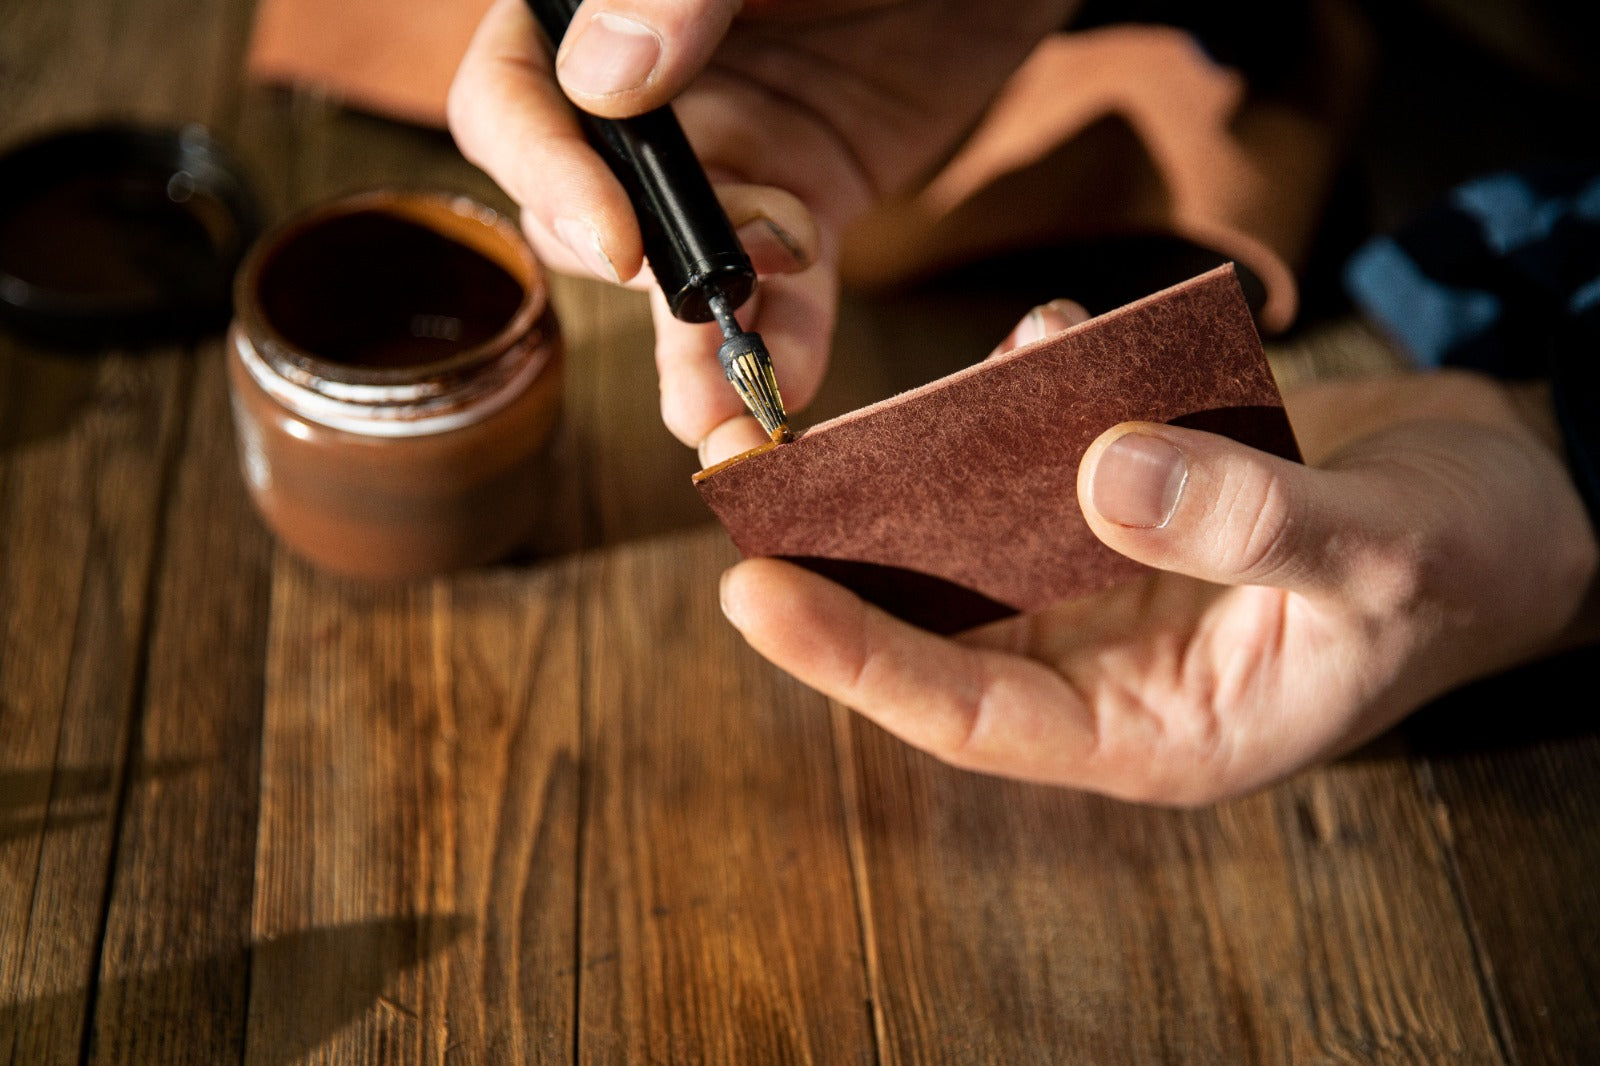
Step 8: Restore Leather with Conditioner
Apply leather conditioner evenly, let absorb for 30 minutes, then buff to restore flexibility and shine.
Step 9: Apply Protective Finish
Use a water- and oil-repellent spray to protect leather from future stains.
Special Considerations by Leather Type
Nubuck & Suede
-
Let paint dry fully
-
Gently scrape with plastic spatula
-
Brush upward with suede brush
-
Lift remaining pigment with white chalk or eraser
-
Finish with protective nubuck spray
Patent Leather
-
Blot paint with damp cloth
-
Use cotton swab with mild soap for residue
-
Avoid alcohol or oils
-
Buff with patent leather shine cloth
Common Mistakes to Avoid
-
Rubbing aggressively spreads paint
-
Skipping patch tests can cause discoloration
-
Overusing solvents dries and cracks leather
-
Skipping conditioner leads to stiffness
-
Using heat to dry may cause cracking
Preventative Measures
-
Apply water- and stain-repellent spray
-
Wipe hands before handling leather
-
Keep craft tools away from leather surfaces
-
Store items in dust bags or sealed areas
-
Perform regular leather maintenance
When to Seek Professional Help
-
Large or deeply penetrated stains
-
Rare, antique, or delicate leather
-
Extensive surface coverage
-
Lack of confidence in DIY methods
Sample DIY Timeline
| Time | Task |
|---|---|
| 0 min | Blot paint carefully |
| 10 min | Patch test |
| 15–30 min | Clean with soap solution |
| 30–45 min | Apply alcohol if needed |
| 45–60 min | Use solvent for oil-based stains |
| 60–75 min | Rinse & air-dry |
| Overnight | Condition leather |
| Next day | Apply protective spray |
Final Thoughts
Removing paint from leather is possible with patience, proper tools, and tailored methods. From leather furniture to shoes, adjusting your approach by leather type ensures safe, effective restoration.
Related Posts
Thoughtful Christmas Gifts for Loved Ones
Why Leather Trolley Bags Are Best for Travelling in 2025

How to Soften Leather in 5 Easy Steps
Ultimate Guide: Removing Mold from Leather
Professional Guide to Removing Oil Stains from Leather
What Is PU Leather?