6 Ways to Restore Leather: Expert Leather Care & Repair Tips
Leather is timeless, elegant, and built to last—but even the highest-quality leather eventually shows signs of wear. Scuffs, fading, dryness, and small cracks can affect its appearance over time. The good news? With the right restoration methods, you can bring your leather pieces back to life and extend their lifespan for years.
In this guide, we’ll cover six proven leather restoration techniques—from deep cleaning to scratch repair and waterproofing—so your leather always looks its best.
1. Deep Cleaning Before Restoration
Why It Matters
A clean surface ensures effective restoration. Dirt and dust can worsen cracks or scratches if not removed.
Steps:
-
Use a soft brush or microfiber cloth to remove dust.
-
Apply a leather cleaner (mild, pH-balanced) with a damp cloth.
-
Wipe gently without over-wetting the surface.
-
Air dry naturally—avoid direct sunlight or heaters.
Tip: For suede or nubuck, use a suede brush or eraser instead of liquid cleaners.
2. Hydrating and Conditioning Leather
Why It Matters
Leather naturally loses oils over time, which leads to stiffness and cracks. Conditioning restores softness and flexibility.
Steps:
-
Test a small hidden spot first.
-
Apply a leather conditioner using circular motions.
-
Let it absorb for 15–20 minutes.
-
Buff with a clean cloth for a smooth finish.
Best Practice: Condition every 4–6 months, more often in dry climates.
3. Repairing Scratches and Scuffs
Superficial scratches can be blended easily, while deeper cuts may require extra care.
For Light Scratches:
-
Clean the area thoroughly.
-
Buff with a soft cotton cloth.
-
Apply a color-matched leather balm to disguise marks.
-
Buff again to restore shine.
For Deeper Cuts:
-
Clean the scratch and let it dry.
-
Apply leather glue carefully with a toothpick.
-
Press gently and allow it to set.
-
Finish with balm or conditioner to blend.
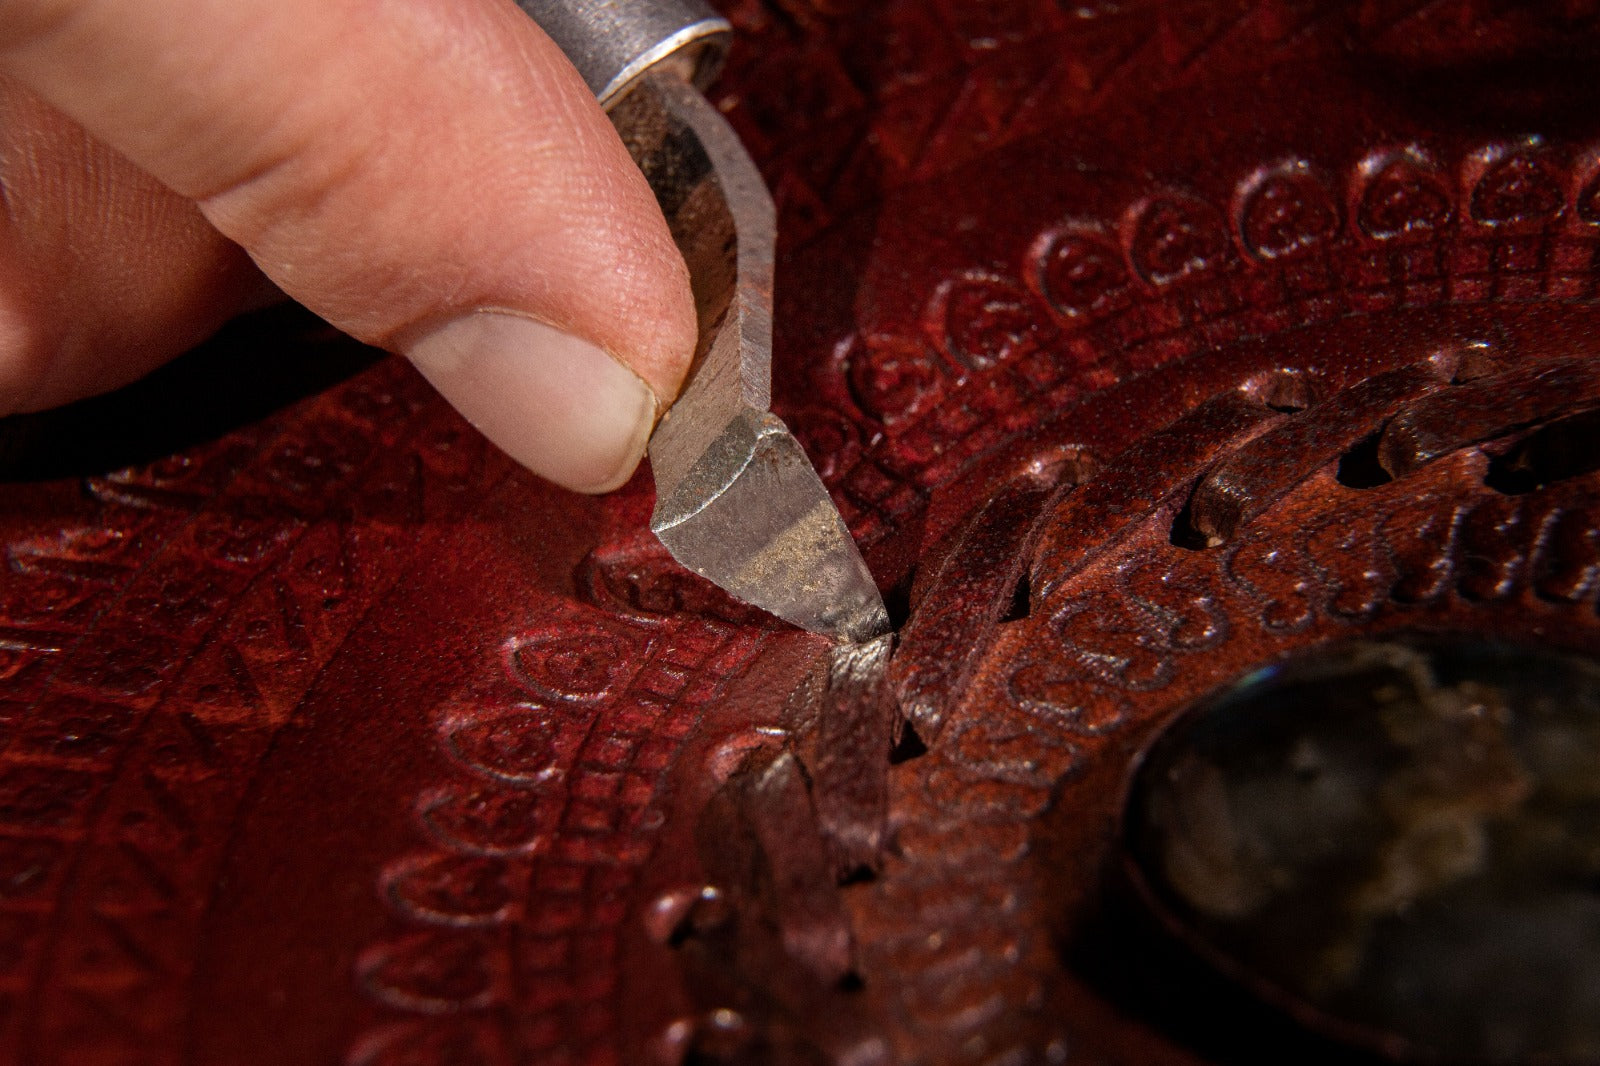
4. Restitching & Edge Repair
Loose seams or worn edges can weaken your leather piece.
Steps:
-
Trim stray threads with sharp scissors.
-
Reopen seams gently with a stitching awl.
-
Apply a drop of leather glue along seam edges.
-
Restitch with waxed thread if necessary.
-
Finish with a protective balm to seal edges.
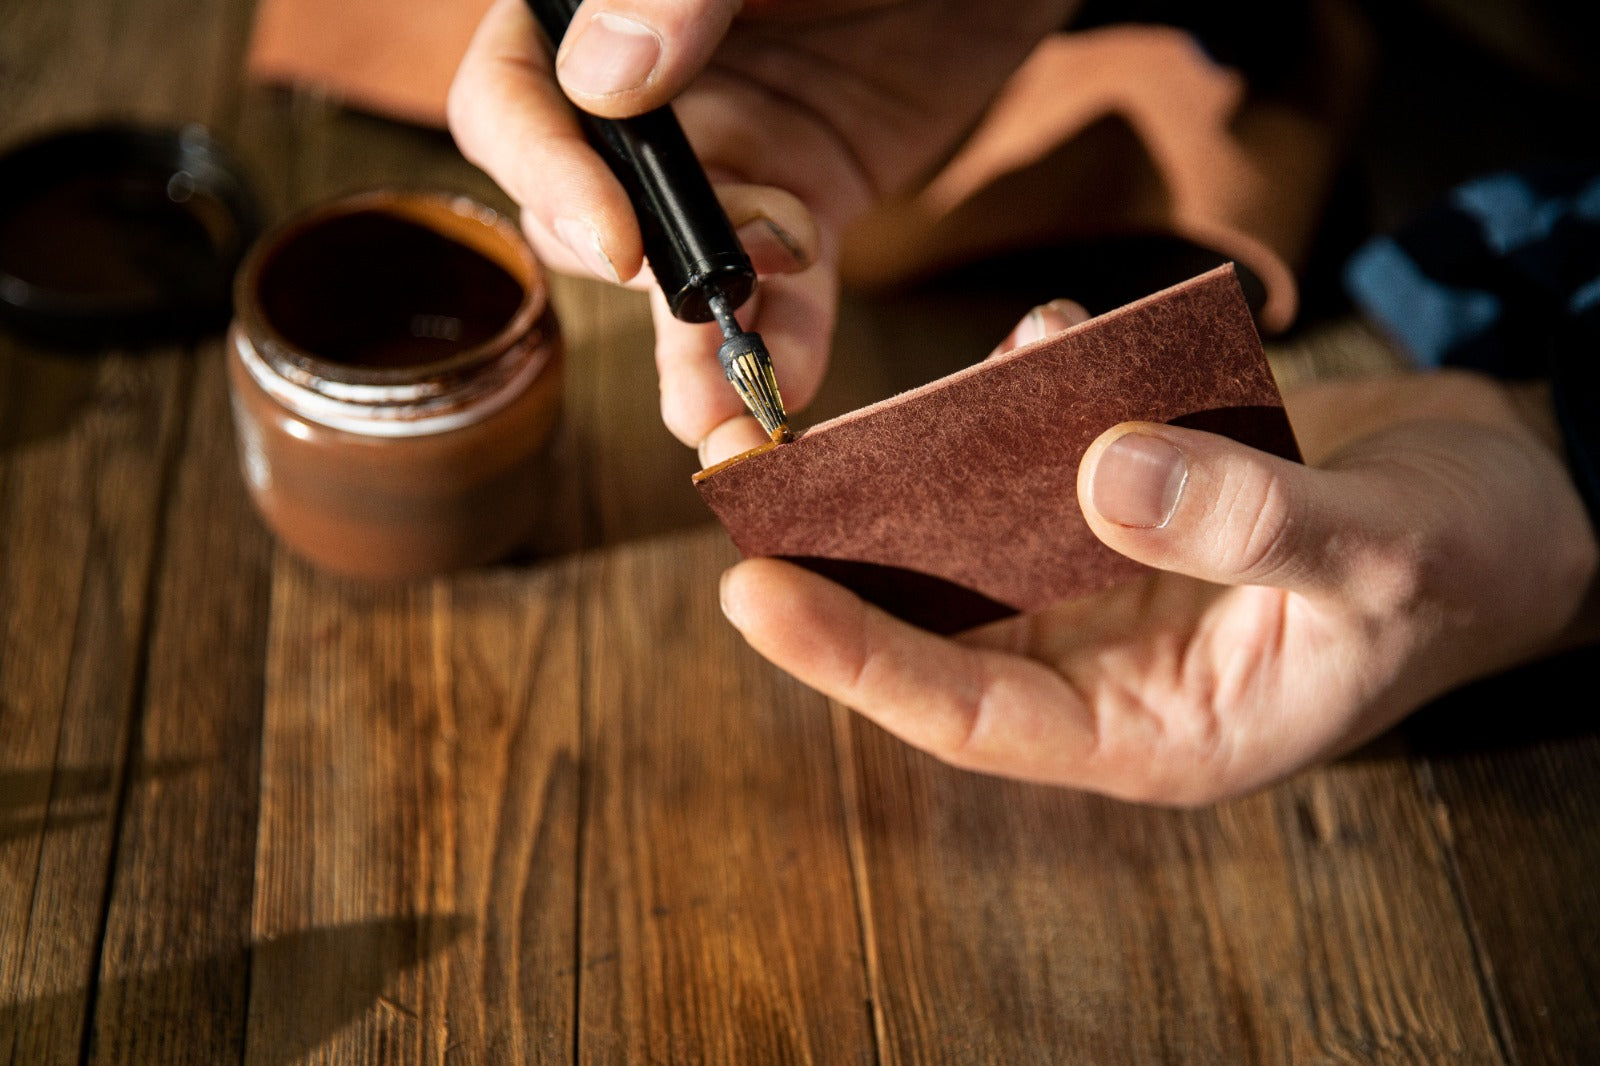
5. Color Restoration & Dye Touch-Ups
Over time, leather can lose its vibrancy. Dyeing or tinting restores its original beauty.
Steps:
-
Clean and condition before applying dye.
-
Choose a color balm that matches your leather.
-
Test on an inconspicuous area first.
-
Apply in light, overlapping strokes.
-
Buff after 15 minutes.
-
Repeat if needed for even coverage.
6. Waterproofing & Preventive Care
The final step is protecting your restored leather to ensure long-term durability.
Steps:
-
Apply a leather wax or waterproof balm after conditioning.
-
Spread evenly with a cloth.
-
Let dry naturally, then buff.
-
Reapply every few months or after exposure to rain.
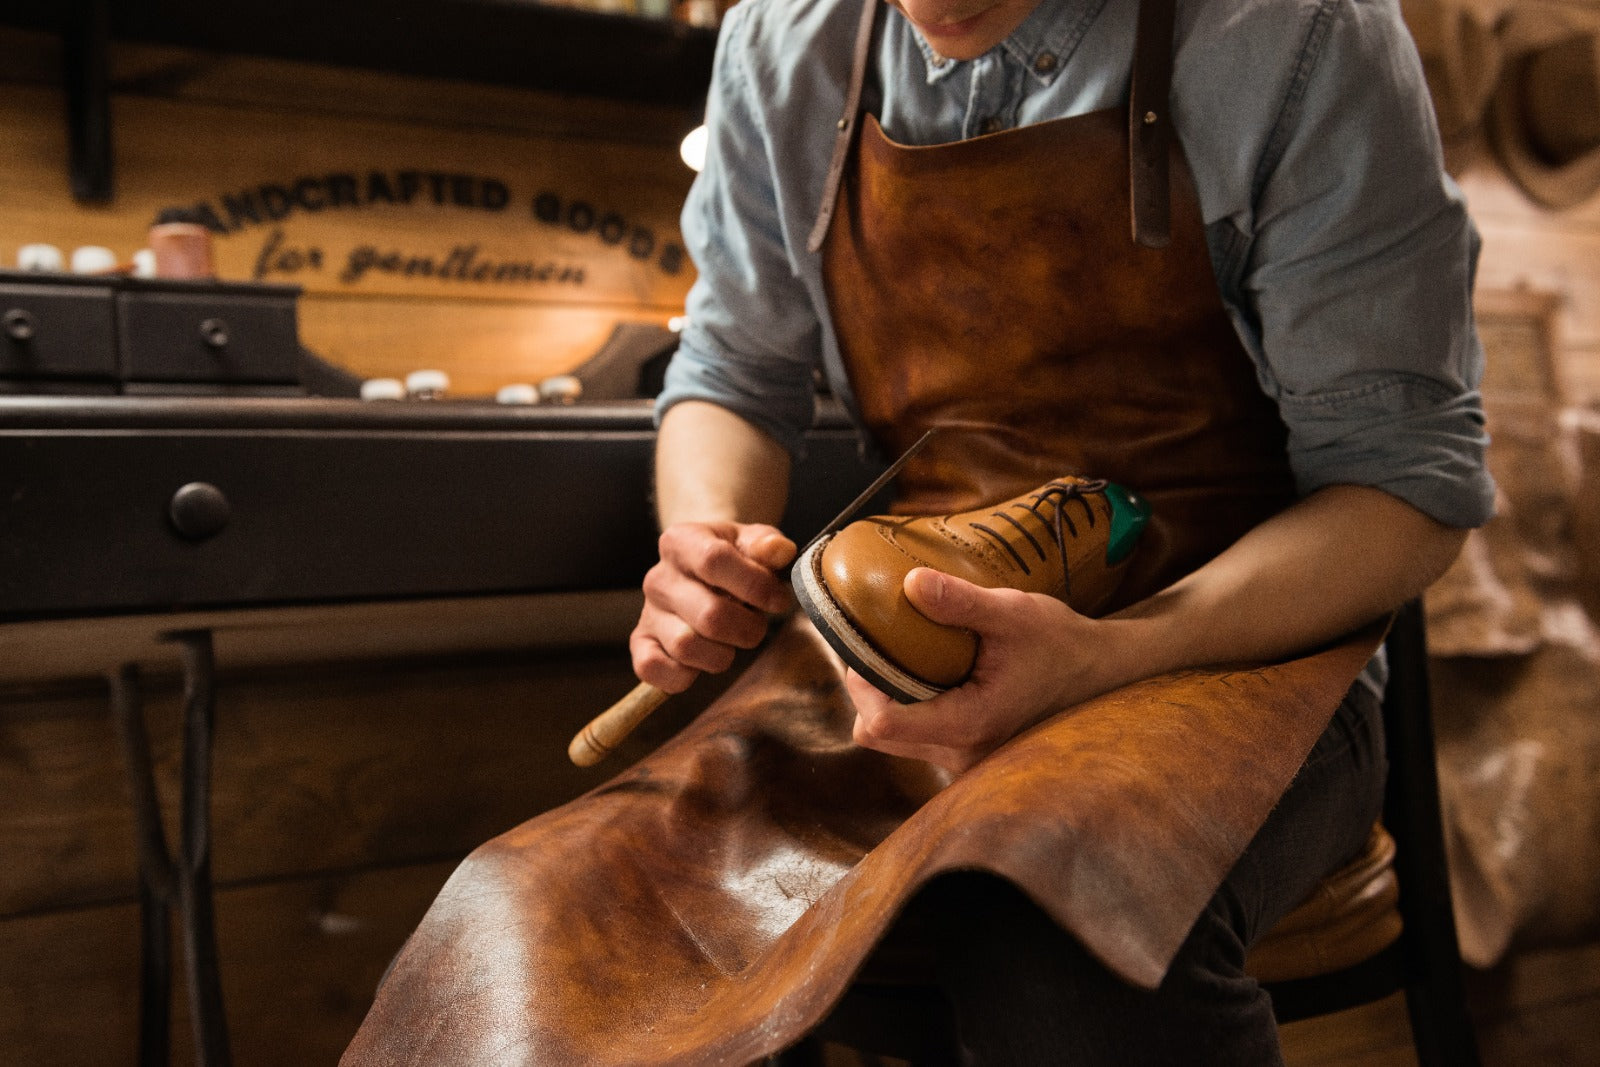
Bonus: When to Seek Professional Leather Restoration
DIY works well for everyday issues, but consider professional help if:
-
Deep cracks or severe structural damage appear.
-
Exotic or vintage leather is involved.
-
Color restoration requires complete re-dyeing.
Leather Restoration Timeline
| Time | Task |
|---|---|
| 0–20 mins | Clean surface |
| 20–40 mins | Deep conditioning |
| 40–70 mins | Scratch repair or edge fix |
| 70–90 mins | Dye touch-up (if needed) |
| 90–120 mins | Waterproofing & buffing |
| Ongoing | Conditioning every 4–6 months |
Final Thoughts
Leather restoration is more than repair—it’s about reviving character, beauty, and longevity. By following these six steps—cleaning, conditioning, repairing scratches, restitching, restoring color, and waterproofing—you can keep your leather bags, shoes, or accessories looking as elegant as the day you bought them.
How to Remove Ink Stains from Leather: A Complete Care Guide
Different Types of Leather: A Complete Guide for Smart Buyers
Related Posts
Thoughtful Christmas Gifts for Loved Ones
Why Leather Trolley Bags Are Best for Travelling in 2025

How to Soften Leather in 5 Easy Steps
Ultimate Guide: Removing Mold from Leather
Professional Guide to Removing Oil Stains from Leather
Leather Paint Removal Guide: Safe, Effective & Professional
What Is PU Leather?